
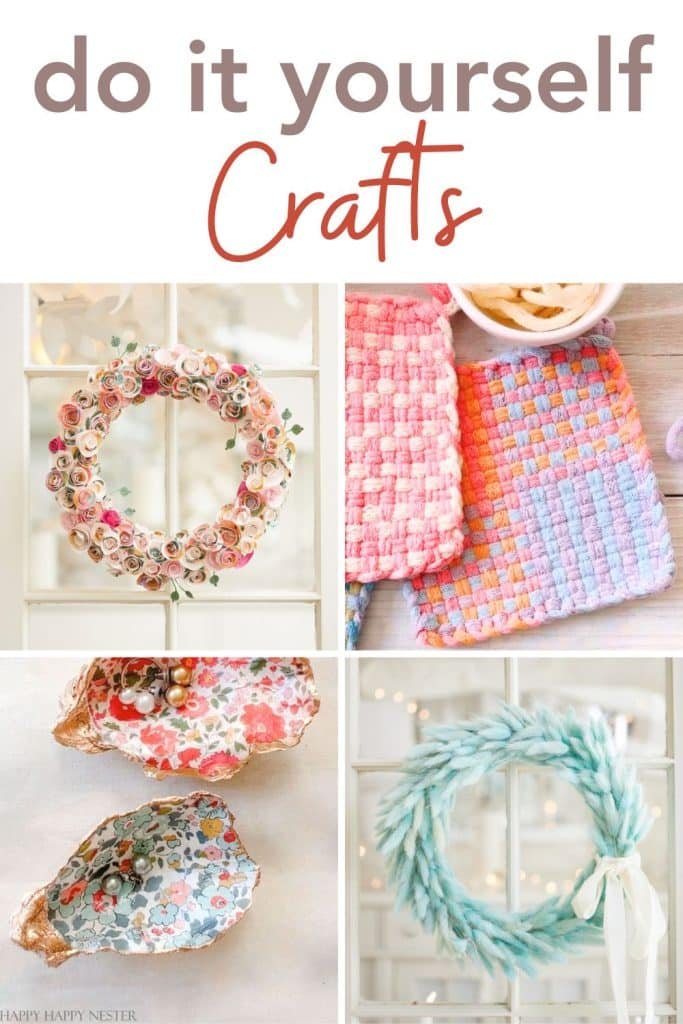
11 DIY Fun, Funky, Easy Crafts
Looking for a creative outlet that’s fun, simple, and perfect for all skill levels? Whether you’re crafting with kids, hosting a weekend DIY session, or just need a relaxing hands-on hobby, we’ve got you covered with a collection of easy-to-make crafts that bring color, sparkle, and a little bit of magic into your day.
From squishy glow-in-the-dark slime that lights up playtime, to mesmerizing sand paintings and beautiful stained glass hearts that catch the sunlight just right, these projects are as enjoyable to create as they are to admire. We’ll even show you how to make charming beaded spiders and other whimsical creations using materials you might already have at home.
No fancy tools required—just a sprinkle of creativity and a little time to play. Let’s dive in!
Jelly Fish Sand Painting Activity for Kids
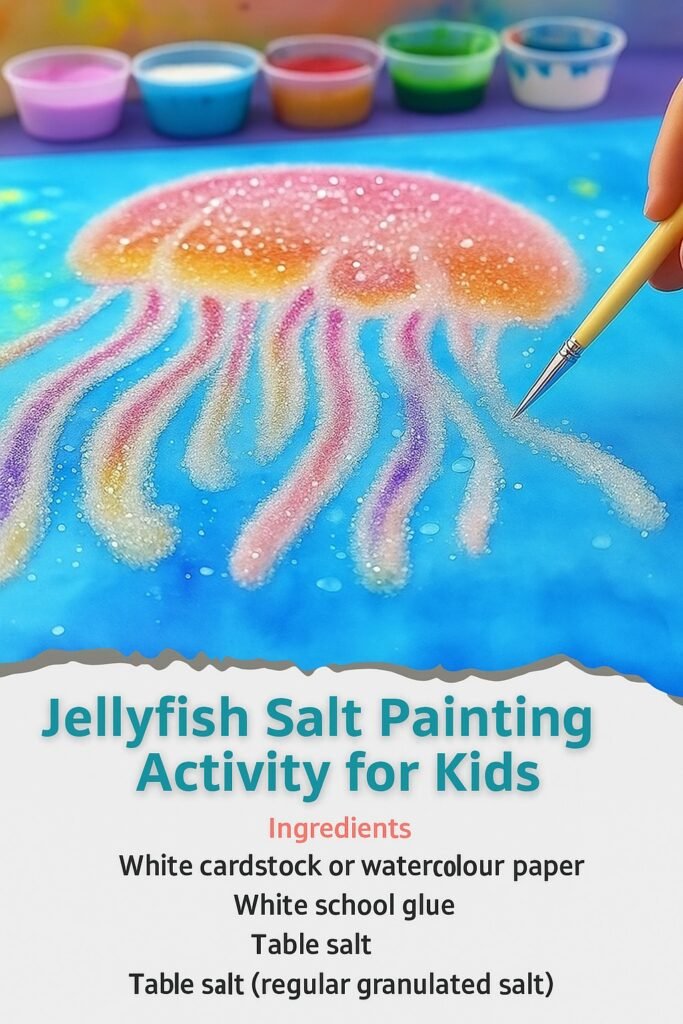
Jellyfish Salt Painting Activity for Kids
Ingredients:
– White cardstock or watercolor paper
– White school glue
– Table salt (regular granulated salt)
– Watercolor paints or liquid food coloring
– Paintbrushes or droppers
– Small cups or a paint palette
– Tray or baking sheet
Directions:
1. Start by preparing your workspace. Lay your cardstock or watercolor paper flat on a tray or baking sheet to catch any spills and make clean-up easier.
2. Using the white school glue, carefully draw the shape of a jellyfish on your paper. Include a rounded top and long tentacles extending downwards.
3. Once you have drawn your jellyfish, generously sprinkle table salt over the wet glue. Make sure to cover the entire glue drawing. Gently shake off any excess salt so that only the salt adhering to the glue remains.
4. Prepare your colors by mixing watercolor paints or liquid food coloring with a little water in small cups or a paint palette. You can choose any colors you like!
5. Dip your paintbrush or a dropper into the mixed paint. Touch the bristles or dropper gently to the salted lines of glue. Watch as the colors spread beautifully along the salt.
6. Continue adding different colors to fill in your jellyfish shape with bright and vibrant hues. Have fun experimenting with color combinations!
7. After finishing your painting, set your artwork aside to dry completely. This might take several hours, so be patient and avoid moving it until it’s fully dry.
8. Once your jellyfish painting is dry, admire the unique textures created by the salt, and consider displaying your artwork or giving it as a gift!
Tips & Variations:
– Try using different types of paper, like textured watercolor paper, to see how it affects the final look of your painting.
– For a fun twist, you could create an ocean scene by painting a background before adding the jellyfish design. Use blues and greens to simulate water!
Glow in the Dark Fireworks in a Jar
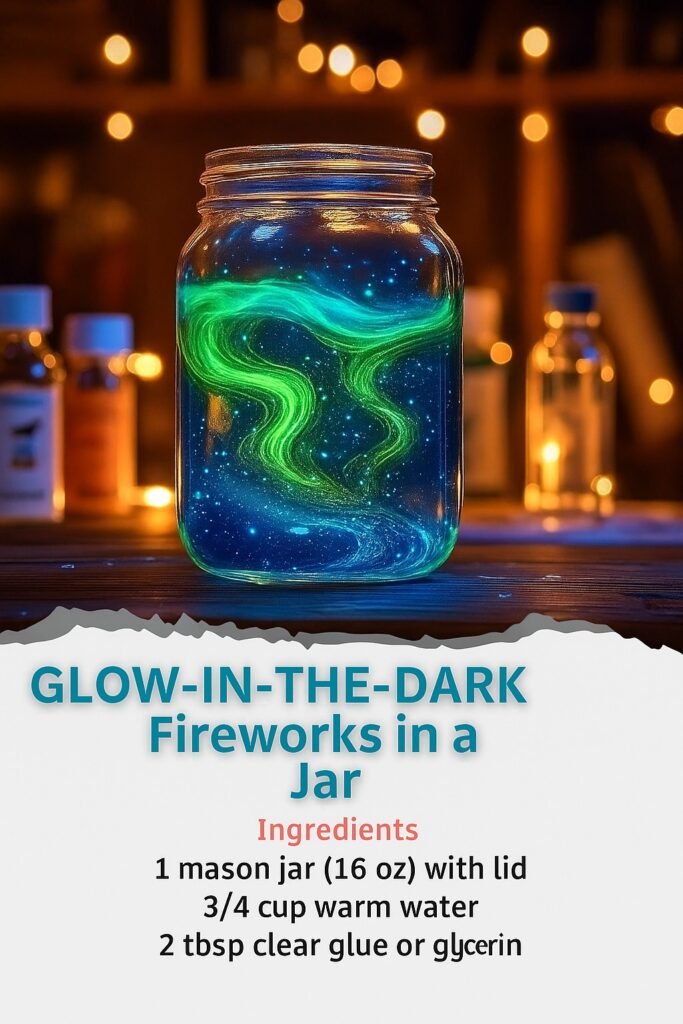
GLOW-IN-THE-DARK Fireworks in a Jar
Ingredients:
– 1 mason jar (16 oz) with lid
– 3/4 cup warm water
– 2 tbsp clear glue or glycerin
– 1 tbsp glow-in-the-dark acrylic paint
– 1-2 drops food coloring (blue or green)
– 1 tsp fine glitter (optional sparkle)
– Optional: 1-2 glow sticks
Directions:
1. Charge the Glow Paint: Begin by mixing the glow-in-the-dark paint with a small amount of warm water in a bowl. Stir until the mixture is fully smooth. Once mixed, place it under bright light for about 10 minutes to ‘charge’ the glow pigment, activating its luminescent properties.
2. Build the Base: Take your 16 oz mason jar and pour in 3/4 cup of warm water. Next, add 2 tablespoons of clear glue (or glycerin) to the water. Stir the mixture well until it becomes uniform in consistency.
3. Add Color & Sparkle: Now it’s time to introduce some color! Add 1-2 drops of your chosen food coloring (blue or green) to the jar and swirl it gently to achieve your desired tint. After that, stir in the charged glow paint slurry along with 1 teaspoon of fine glitter for that extra sparkle.
4. (Optional) Boost the Glow: If you want to intensify the luminescence of your jar firework display, this step is for you! Carefully crack open the glow sticks and pour the liquid from inside them into the jar. This will add an extra layer of glow to your creation.
5. Seal & Shake: After assembling all your ingredients, securely screw the lid onto the mason jar. Once sealed, shake the jar vigorously in the dark. You will see glowing ‘fireworks’ as the contents create luminescent swirls that drift and settle beautifully.
Tips & Variations:
– For a more vibrant display, experiment with different colors of food coloring or glow paint to customize your fireworks.
– If you want to create a layered effect, let each layer of the mixture set briefly before adding the next, allowing you to create distinct, glowing layers in your jar.
Salt Painting For Kids
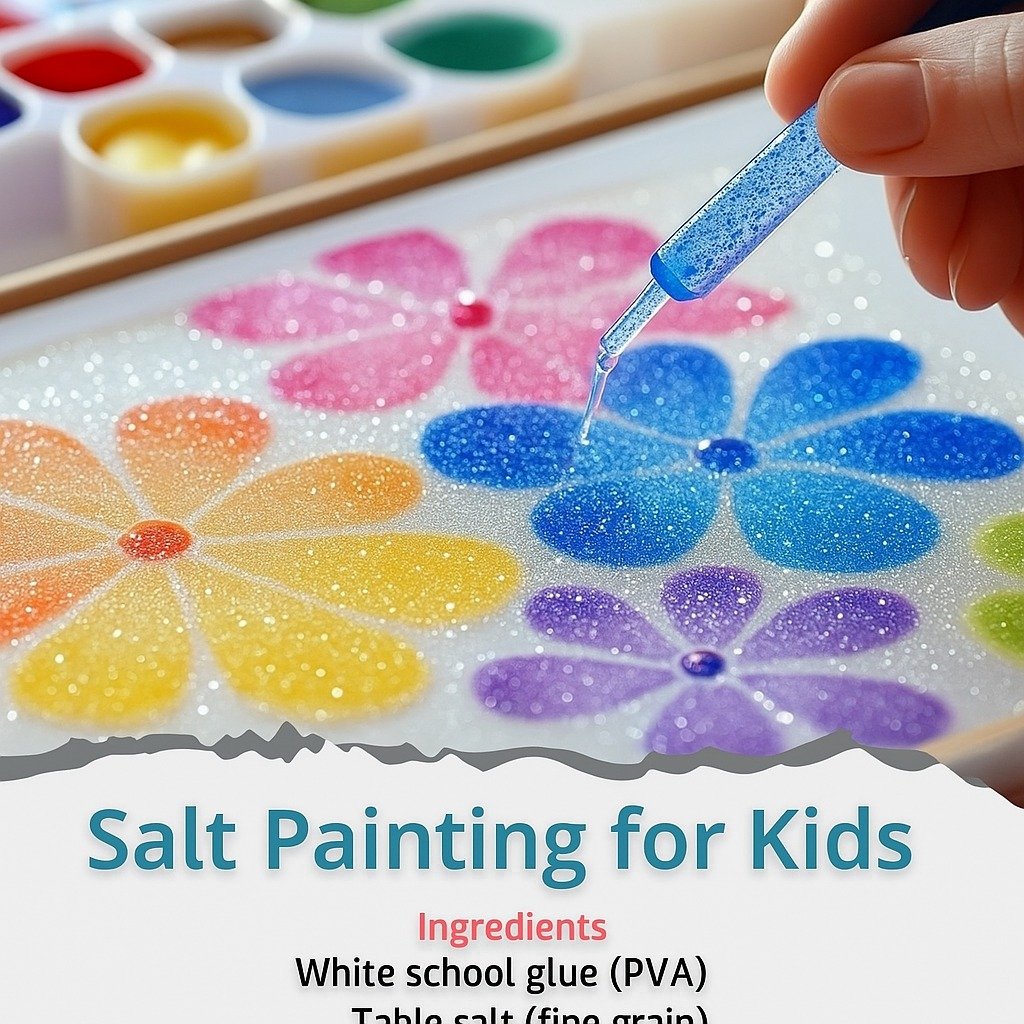
Salt Painting for Kids
Ingredients:
– White school glue (PVA)
– Table salt (fine grain)
– Liquid watercolors, food coloring, or liquid water-based paints
– Heavyweight paper or watercolor paper
– Paintbrushes, droppers, or pipettes
– Tray or newspaper (to catch excess salt)
Directions:
1. Draw with Glue: Start by using the white school glue to create patterns, shapes, or outlines on your heavyweight or watercolor paper. You might draw flowers, rainbows, or even go for abstract swirls. Be creative with your designs!
2. Sprinkle Salt: While the glue is still wet, sprinkle a generous amount of table salt over the glue areas. Make sure to cover all the glue lines thoroughly. After you’ve sprinkled the salt, gently shake off any excess salt onto a tray or newspaper so you’re left with salt only on the glue designs.
3. Paint the Salt: Take your paintbrush or dropper and dip it into liquid watercolors or thinned food coloring. Carefully touch the tip of the brush or dropper to the salt lines. Watch as the color spreads and travels along the salt, creating beautiful, vibrant blooms!
4. Layer Colors: If you want to add more dimension to your painting, layer additional colors next to each other. Observe how the colors blend naturally, creating marbled or gradient effects. Be careful not to over-saturate the salt as you apply the colors.
5. Dry & Display: Once you’re happy with your painting, allow it to air-dry completely. This will take about 30 to 60 minutes. After drying, you can frame your artwork or hang it up in a special place for everyone to admire your sparkly salt painting!
Tips & Variations:
– Experiment with different shapes and patterns using the glue to create unique designs. The more intricate the design, the more interesting the final painting will look.
– Try using different colors in layers for a more dynamic painting. You can even mix two colors together before applying them to see what new shades you can create!
DIY Color Spinner
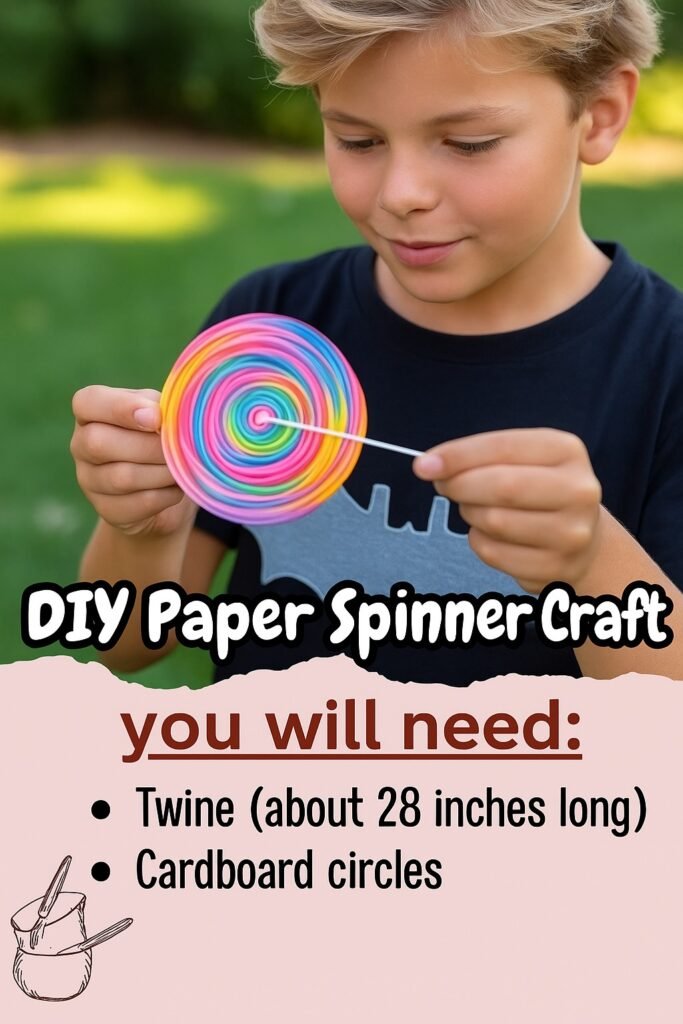
DIY Paper Spinner Craft
Make colorful spinners that buzz and hum when twirled—a fun and easy project using materials from around the house.
Supplies:
Twine (about 28 inches long)
Cardboard circles
Printer paper (for circle templates)
Markers or crayons
Scissors
Glue sticks
Instructions:
1. Prepare Circles
Draw or print two circles on printer paper. Color them brightly—more colors make the spinning more dazzling!
2. Cut and Trace
Cut out the paper circles and use them as templates to trace two circles on cardboard. Cut out the cardboard circles.
3. Assemble
Glue one paper circle on each side of a cardboard circle.
4. Punch Holes
Poke two small holes exactly in the center of the cardboard circle, side by side.
5. Add Twine
Thread the 28-inch twine through the holes and tie a secure knot. (Tip: Burn the ends slightly to prevent fraying.)
How to Play:
Hold a piece of twine in each hand with the spinner centered. Twist the twine by turning your hands in circles, then pull tight and relax repeatedly. The spinner will hum and spin with colorful magic!
Beaded Spider
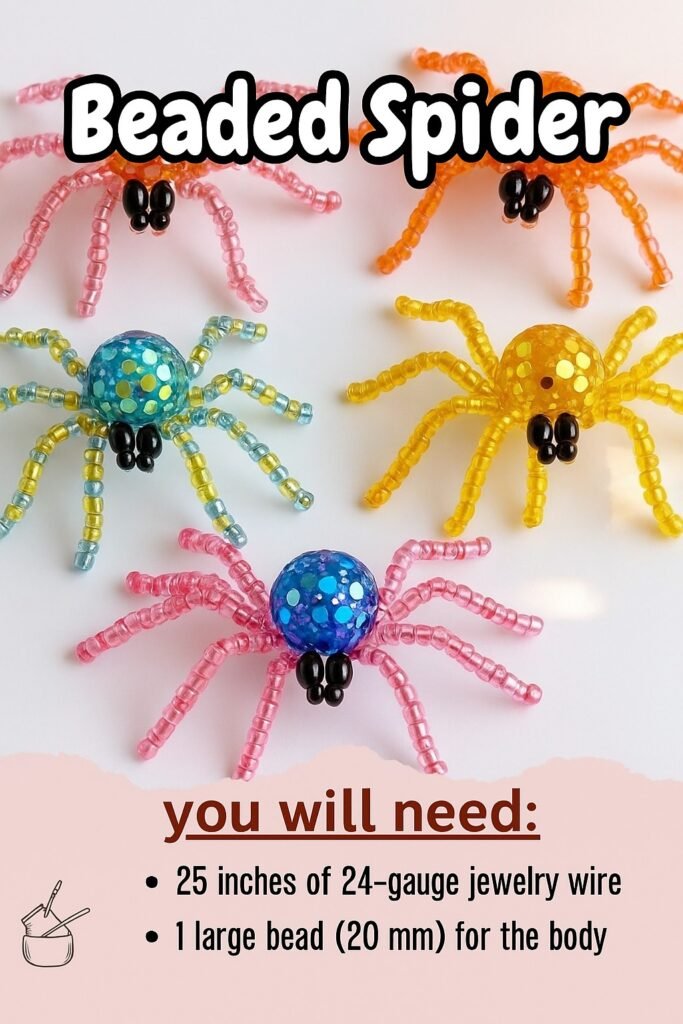
Beaded Spiders
Crafting tiny spiders with colorful beads brought the thrill of nature indoors — each leg carefully shaped and sparkling like a little treasure.
Beaded Spider Craft
Create a charming and sturdy spider using beads and wire — a perfect project for crafty hands and curious minds.
Materials:
25 inches of 24-gauge jewelry wire
1 large bead (20 mm) for the body
1 medium bead (10 mm) for the head
About 100 small beads (2–5 mm) for the legs
Equipment:
Ruler
Wire cutters
Needle nose pliers
Instructions:
1. Cut Wire Pieces
Cut five lengths of wire, each 5 inches long.
2. Secure Body Bead
Bend the end of one wire into a tight spiral coil (~5 mm) using pliers.
Thread the opposite wire end through this coil and pull tight to secure.
Slide the large bead onto the wire, resting against the coil.
3. Attach Legs
Fold another wire in half forming a U shape.
Slide the folded wire around the main wire near the body bead.
Cross the folded wire around itself and pull tight to secure.
Repeat this step with the other three wires to form 8 legs intertwined for strength.
4. Add Head Bead
Slide the medium bead onto the center wire above the legs.
Cut excess wire, leaving about 2 cm.
Twist wire end into a loop securing the bead.
5. Bead the Legs
Separate and bend the 8 legs.
Thread small seed beads and a mix of bead sizes onto each leg (about 12 beads per leg).
Leave 5–10 mm free at the end to make a loop, securing the beads.
Repeat for all legs.
6. Shape Legs
Bend each leg at the midpoint to create joints.
Flip the spider and adjust legs so it stands evenly.
DIY Stained Glass Craft

Heart Sun Catchers
Black acrylic paint
White glue
Transparency film
Permanent markers (various colors)
Equipment:
Empty squeeze bottle or half-full glue bottle
Printable heart template or any shape
Instructions:
Gather Supplies
Collect all materials and tools.
Prepare Black Glue Mix & Template
Mix equal parts black acrylic paint and white glue in a squeeze bottle. Shake well to combine. Print and roughly cut out your chosen template, leaving a border of ½ to 1 inch. Tape the template printed-side down onto transparency film so the shape is visible from the other side.
Create Outline
Use the black glue mixture to trace the shape’s outline on the transparency film. Add internal lines to create stained glass “panes,” spacing lines apart to allow for glue spread. Let dry overnight.
Add Color
Use permanent markers to fill in sections inside the black outlines. Use fine tips along edges and broader tips to fill larger areas. Mix and match colors for a vibrant look.
Cut & Finish
Remove the paper template and carefully cut the suncatcher about ¼ inch outside the black outline. No need for perfect edges as the clear border won’t show.
Your glowing stained glass suncatcher is ready to hang and brighten any sunny window!
Calming Glitter Jar
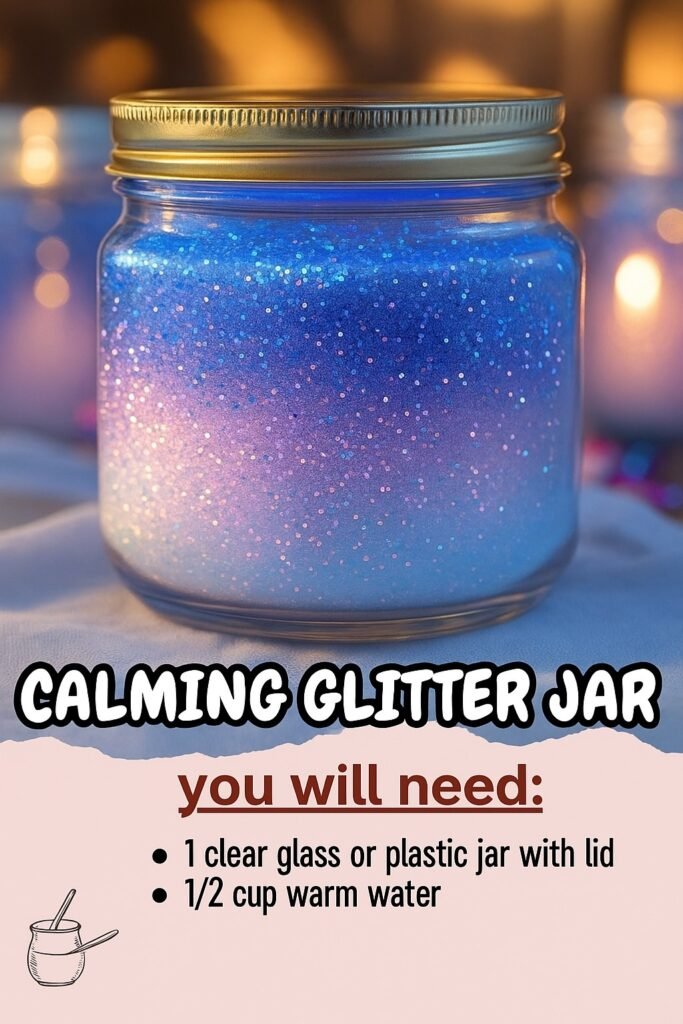
Calming Glitter Jar
A soothing and mesmerizing craft that encourages mindfulness as the glitter gently settles, calming the mind and spirit.
You’ll Need:
1 clear plastic or glass jar with a secure lid
½ cup warm water
1 tablespoon clear or school glue
1–2 tablespoons fine glitter (any color)
A few drops of food coloring (optional)
1 teaspoon glycerin or baby oil (optional, slows glitter)
Funnel (optional)
Hot glue gun (optional, for sealing the lid)
Instructions:
Step 1: Clean the Jar
Wash and dry the jar completely. Remove any labels so it’s fully see-through.
Step 2: Mix the Base
In a bowl, combine the warm water and clear glue. Stir until the glue is fully dissolved.
Step 3: Add Sparkle and Color
Add your glitter and food coloring. Stir gently to blend.
Step 4: Slow the Sparkle
Add glycerin or baby oil and stir again. This helps the glitter float and fall slowly.
Step 5: Fill the Jar
Use a funnel to pour the mixture into the jar. Leave a bit of space at the top.
Step 6: Seal the Lid
Tightly screw on the lid. For extra security—especially for kids—add hot glue around the seal.
Step 7: Shake and Watch
Shake the jar gently and watch the glitter swirl. Let it settle as you take deep breaths.
Extra Tips:
Customize: Try different glitter colors or mix two for a layered effect.
Gifting: Makes a meaningful, handmade gift for anyone needing peace.
Safety First: Always secure the lid to prevent spills, especially for young children.
Rainbow Sensory Dough
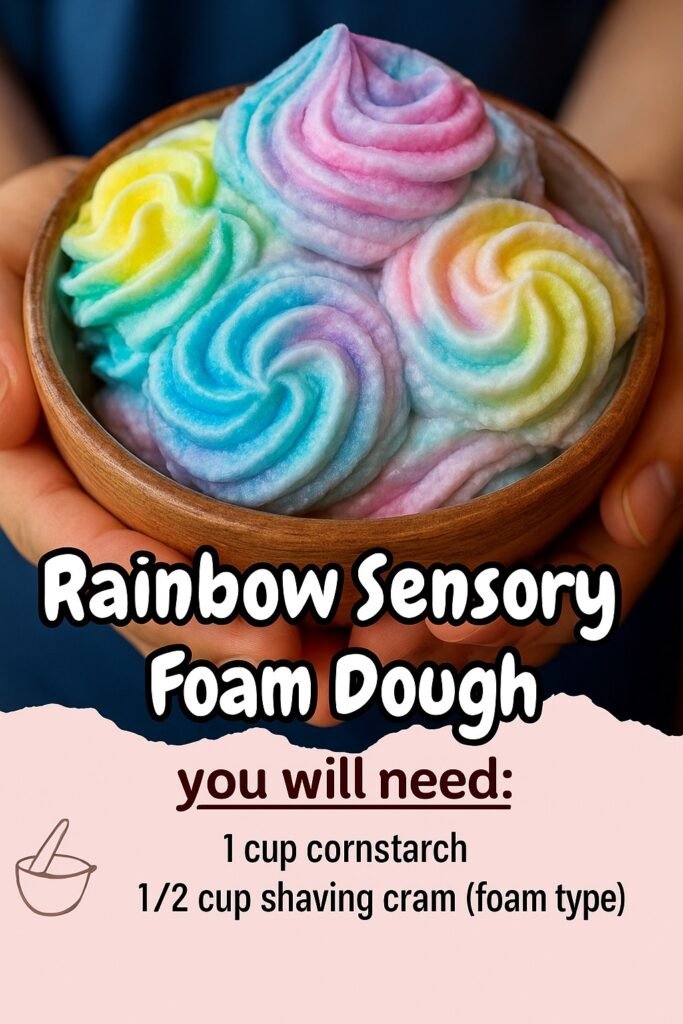
Sensory Dough
Ingredients:
– 1 clear jar or large plastic cup
– 1 cup warm water
– 1/4 cup vegetable oil or baby oil
– Several drops of blue food coloring
– Several drops of purple food coloring
– Several drops of dark gray food coloring
– 1–2 drops yellow or white food coloring (optional)
– Effervescent tablet (like Alka-Seltzer)
– Glow-in-the-dark paint or flashlight (optional)
Directions:
Step 1: Prepare the Jar – Fill your jar about 3/4 full with warm water. Add a few drops of blue or purple food coloring and stir gently to create a moody, stormy sky. If you want to mimic those lightning flashes, feel free to add a drop of yellow or white!
Step 2: Pour in the Oil Layer – Slowly add your vegetable or baby oil to fill the rest of the jar. Take a moment to appreciate how the oil floats beautifully on top, thanks to its lower density.
Step 3: Start the Storm – Break an effervescent tablet in half and drop it into your jar. Watch in awe as it sinks and fizzes, sending colorful bursts through the oil that resemble lightning strikes and clouds rolling in.
Optional Step 4: Add Lightning Glow – If you’re feeling adventurous, shine a flashlight under the jar in a dark room to enhance the stormy effect. You can also dab some glow-in-the-dark paint inside the jar for dramatic lightning streaks!
DIY Glow In The Dark Slime
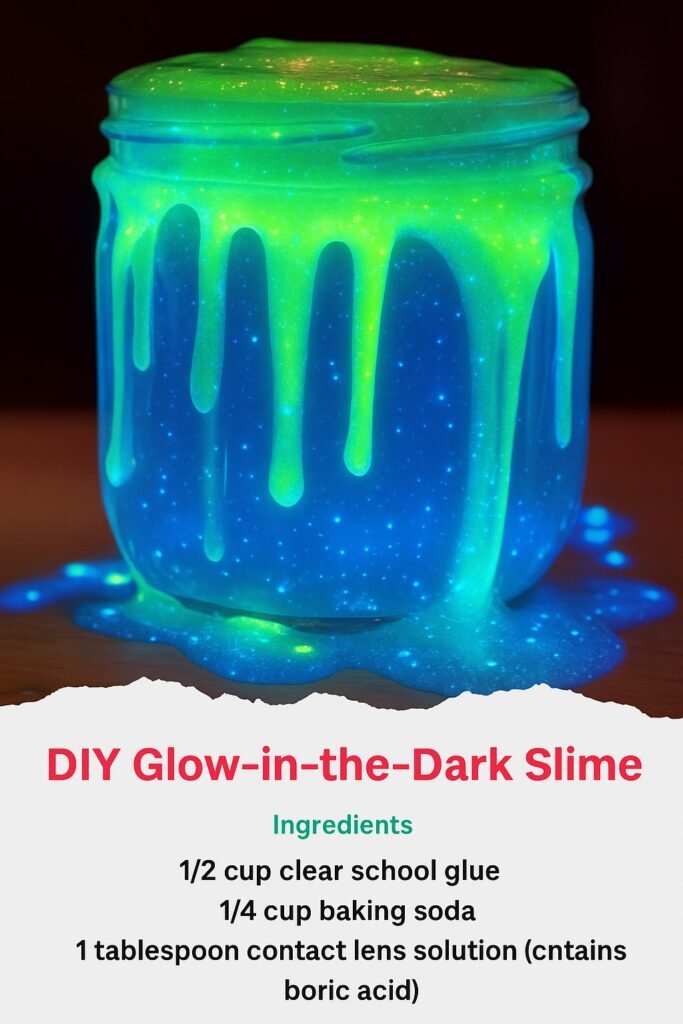
DIY Glow-in-the-Dark Slime
Ingredients:
– 1/2 cup clear school glue
– 1/4 cup baking soda
– 1 tablespoon contact lens solution (contains boric acid)
– 1 tablespoon glow-in-the-dark paint (non-toxic)
– Food coloring (optional, for extra color)
Directions:
1. In a small mixing bowl, pour in the clear school glue.
2. Add the glow-in-the-dark paint to the glue and stir until the paint is fully incorporated.
3. Next, add the baking soda to the glue mixture and stir to combine.
4. If you want your slime to have some color, mix in a few drops of food coloring and stir until the color is evenly distributed.
5. Slowly add the contact lens solution to the mixture while stirring constantly. You will notice the slime starting to form and pull away from the sides of the bowl.
6. Once the slime has reached the right consistency, take it out of the bowl and knead it with your hands for a few minutes until it becomes stretchy and smooth.
7. Place the slime under a bright light for a few minutes to ‘charge’ it.
8. After charging, turn off the lights and watch your slime glow!
Tips & Variations:
– For a more intense glow, use a higher concentration of glow-in-the-dark paint or charge the slime under a UV light.
– Experiment with different colors of food coloring to create a unique slime that matches your mood or decorations.
Kinetic Sand
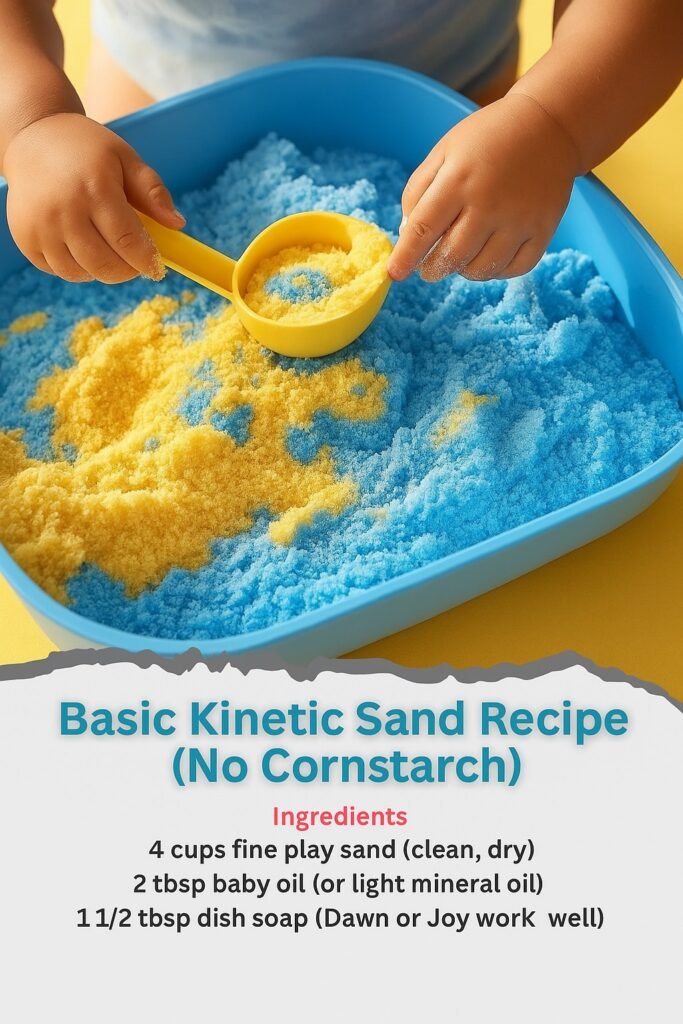
KINETIC SAND
Ingredients:
– Clean play sand
– Cornstarch
– Dish soap
Directions:
1. In a bowl, combine the clean play sand and cornstarch.
2. Slowly blend in the dish soap, stirring until you get that perfect, squishy kinetic sand texture.
Glow in the Dark Bowling
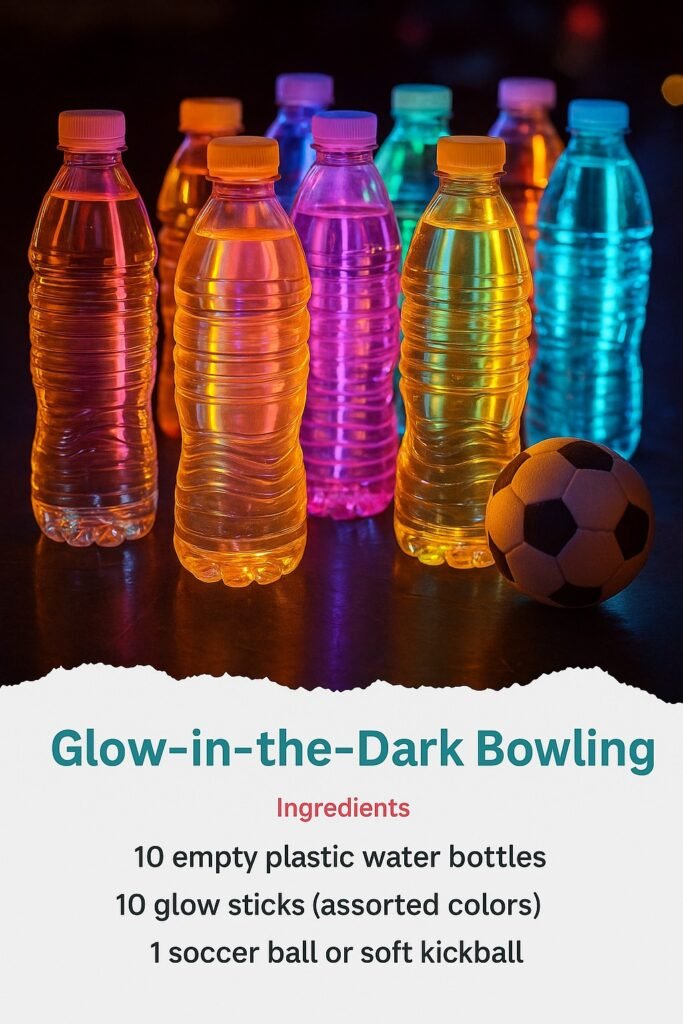
Glow-in-the-Dark Bowling
Ingredients:
– 10 empty plastic water bottles
– 10 glow sticks (assorted colors)
– 1 soccer ball or soft kickball
Step-by-Step Directions:
1. Start by removing the labels from each plastic water bottle to ensure they’re clean and ready to use.
2. Pour a small amount of water out of each bottle, creating some space inside without filling them too much.
3. Prepare your glow sticks by snapping each one to activate it, allowing them to light up with vibrant colors.
4. Carefully insert one glow stick into each water bottle for a colorful and fun surprise.
5. Secure each bottle with its cap tightly to keep the glow sticks inside.
6. Arrange the bottles in a classic bowling pin formation, similar to a standard bowling setup.
7. Take your soccer ball or soft kickball and roll it towards the glowing pins for a fun bowling experience. Don’t forget to keep track of your score!
Tips & Variations:
– Consider playing this game in a dimly lit area or outdoors at night to enhance the glow effect of the glow sticks.
– To make the game more challenging, try setting different point values for knocking down specific pins or create obstacles for an added twist!


One Comment